How to Design YouTube Thumbnails in Canva (Free Template Workflow)
Updated: June 6, 2026

You do not need Photoshop to make high-CTR thumbnails. This step-by-step Canva workflow covers the exact process for creating professional YouTube thumbnails in under 15 minutes — including layout, text placement, and the settings that make thumbnails pop at small sizes.
Quick Answer
Design YouTube thumbnails in Canva using this workflow: start with a 1280x720 canvas, place your focal point in the left or right third (never centered), use maximum 3-4 words of text in a bold sans-serif font, ensure your subject contrasts against the background, and export as PNG at high quality. The entire process should take 10-15 minutes once you build your template.
What Size Should YouTube Thumbnails Be?
YouTube recommends 1280 x 720 pixels (16:9 aspect ratio) with a minimum width of 640 pixels. Maximum file size is 2MB.
In Canva: Use the "YouTube Thumbnail" preset or create a custom design at 1280x720.
Why this matters: Thumbnails display at vastly different sizes across devices — from 160x90px on mobile browse to full-width on TV apps. Design for the smallest size first (mobile), then verify it still looks good large.
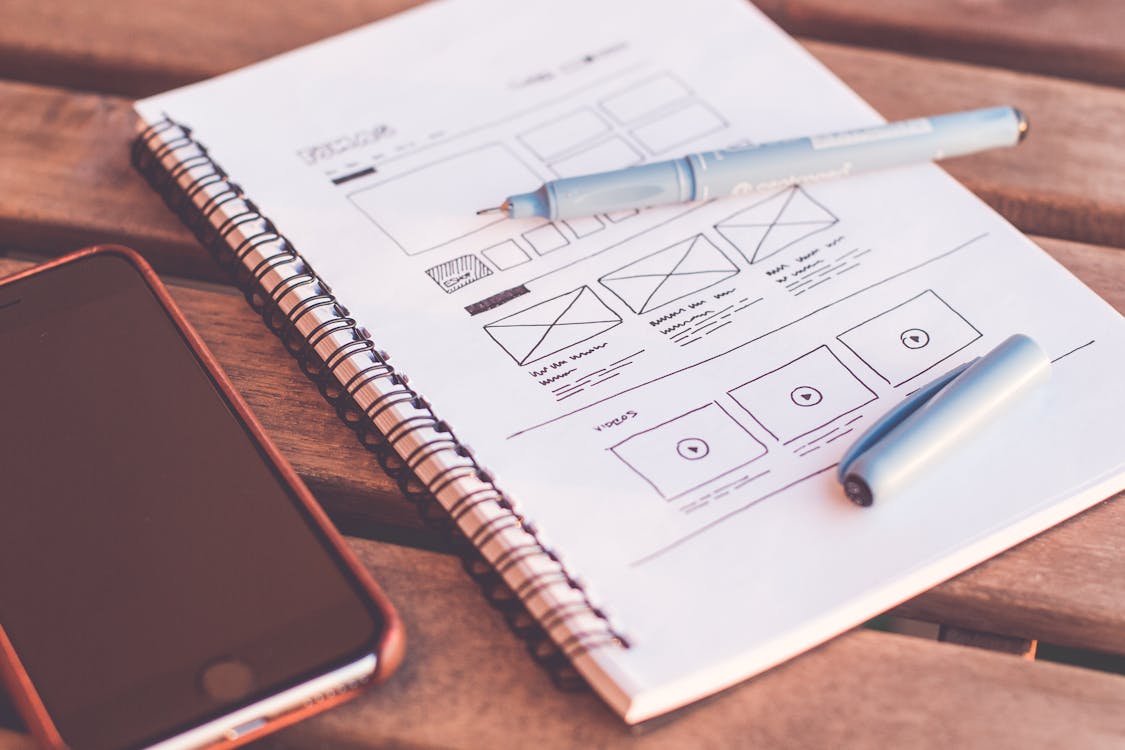
What Is the Step-by-Step Canva Workflow?
Step 1: Set up your template (one-time, 5 min)
- Create a 1280x720 canvas
- Add a background color placeholder
- Place a subject/photo placeholder in the left or right third
- Add a text box with your default font (bold, large)
- Save as a template to reuse
Step 2: For each new thumbnail (10-15 min)
- Duplicate your template
- Swap in your subject photo (face shot, product, or key visual)
- Remove the background from your subject (Canva's BG remover works well)
- Choose a background color that contrasts with your subject
- Add 2-4 words of text (not your full title — a complementary hook)
- Verify readability at 25% zoom (simulates mobile size)
- Export as PNG
How Do I Make My Subject Stand Out From the Background?
Three contrast techniques in Canva:
1. Color contrast Place a warm subject (skin tones, red, orange) on a cool background (blue, teal, dark gray) or vice versa.
2. Brightness contrast Light subject on dark background, or dark subject on light background. Avoid mid-tones on mid-tones.
3. Outline/glow effect In Canva: duplicate your subject layer, apply a solid color overlay, slightly enlarge it, and place it behind the original. This creates a halo that separates subject from background at any size.
What Font and Text Settings Work Best for Thumbnails?
Font rules:
- Use bold or black weight sans-serif fonts (Impact, Montserrat Black, Bebas Neue, or Archivo Black)
- Maximum 3-4 words — viewers do not read sentences on thumbnails
- Minimum font size that fills 20-30% of the thumbnail height
- Add a text shadow or outline so text is readable on any background
Text placement:
- Opposite side from your main subject (subject left = text right)
- Never overlay text on a face
- Keep text within the "safe zone" (avoid the extreme edges where YouTube UI overlays appear)
What NOT to do:
- Script or decorative fonts (unreadable at small sizes)
- More than 2 lines of text
- Text that repeats your video title word-for-word
How Do I Choose Colors That Pop?
Use complementary color pairs for maximum visual impact:
| Subject Color | Background Color |
|---|---|
| Warm skin tones | Deep blue, teal, dark green |
| Blue/cool tones | Orange, warm yellow, coral |
| Neutral/white | Bold saturated color (red, blue, green) |
| Dark subject | Bright or light background |
Canva tip: Use the color picker on your subject photo to find its dominant hue, then select the opposite on the color wheel for your background.
How Do I Test My Thumbnail Before Publishing?
Before exporting, run these checks:
- Zoom to 25% — Can you tell what the video is about? Is text readable?
- Screenshot YouTube home page — Mentally place your thumbnail among others. Does it stand out or blend in?
- Check the bottom-right corner — YouTube overlays video duration there. Make sure nothing important is hidden.
- View on your phone — Open the exported image on your actual phone screen for a reality check.
What Are the Best Export Settings in Canva?
- Format: PNG (higher quality than JPG for text and graphics)
- Size: Canva exports at 1280x720 by default with the YouTube preset
- If file is over 2MB: Switch to JPG at 80% quality or reduce background complexity
Free vs. Pro Canva: The free tier is sufficient for thumbnails. Pro adds background remover (helpful but you can use remove.bg as a free alternative), brand kit, and resize features.
Summary
Build one Canva template with your standard layout, then swap subject and text for each video. Focus on mobile-size readability, strong subject-background contrast, minimal text in bold sans-serif, and complementary colors. The workflow should take 10-15 minutes per thumbnail once your template is dialed in. No design experience required.
Frequently Asked Questions
- What is the best free tool for making YouTube thumbnails?
- Canva (free tier) is sufficient for professional YouTube thumbnails. It includes background removal, text effects, and YouTube-specific templates. Alternatives include Photopea (free Photoshop clone) and Snappa.
- How long should it take to make a YouTube thumbnail?
- 10-15 minutes once you have a template. If you are spending more than 20 minutes per thumbnail, simplify your design or create a reusable template. Batch-creating thumbnails for 3-4 videos in one session is more efficient than one at a time.
- Should I design my thumbnail before or after filming?
- Design the thumbnail concept before filming. This ensures your video delivers on the visual promise. You do not need the final file ready, but knowing the thumbnail angle helps you film relevant b-roll and expressions.
Related Articles
How to Increase Your YouTube CTR From 2% to 8% (Thumbnail Checklist)
17 min read
How to Choose YouTube Thumbnail Colors That Stand Out (By Niche)
11 min read

How to A/B Test YouTube Thumbnails (And What the Data Actually Tells You)
12 min read

How to Write YouTube Titles That Get Clicks (With Real Examples)
14 min read